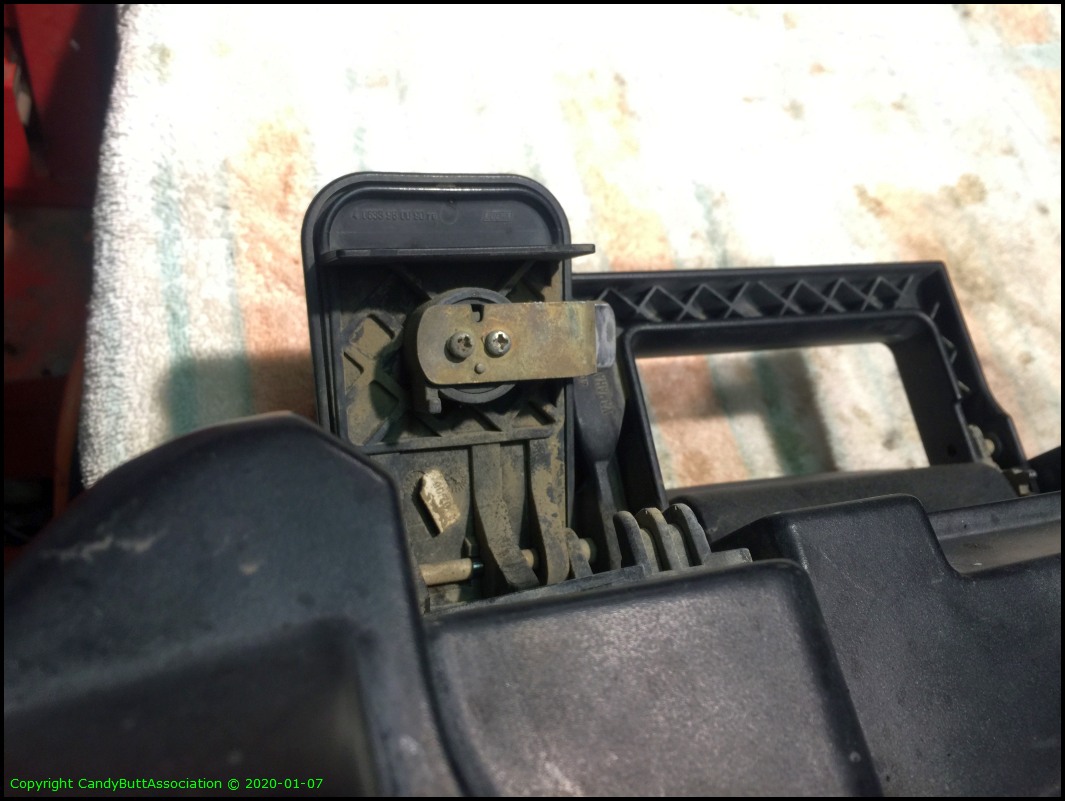
So I broke the locking mechanism on KrZy8's saddlebag. There's a pin, held in place by a plastic boss that transfers energy from the locking latch handle to the bag's interior where it moves a 'band' that has locking pins. It's not repairable.
New bags are incredibly pricey.. and 2006 bags aren't available from MamaYama anymore.. So it would be buy new bags, then ship lids off for painting by Garuld. Not an econimcally feasible option.
Additionally, I had tossed Naomi, a 2013 FJR, off the lift and rashed the left bag. Sigh.
So plan B is needed. AuburnFJR had two new 2013 lids available as he had bought new bags for his red FJR or something like that. And RayZerman had a 'base' bag available and wanted my two OEM lids for a project FJR not of 2013 vintage. Meaning he has to paint anyway.
As I recall, Ray was first in line to buy the lids from AuburnFJR then realized my plight and graciously offered to allow me first dibs on Auburns lids, then I send Ray mine. Just one of the great things about these two FJR forums.
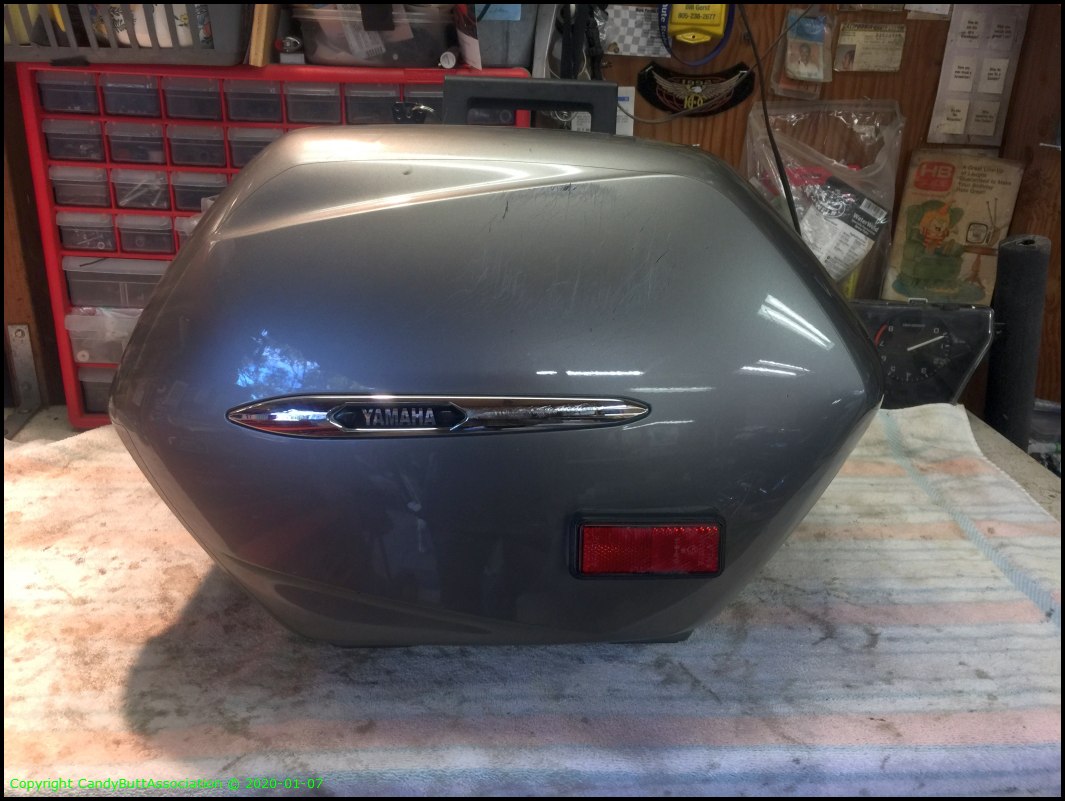
My rashed 2013 bag.
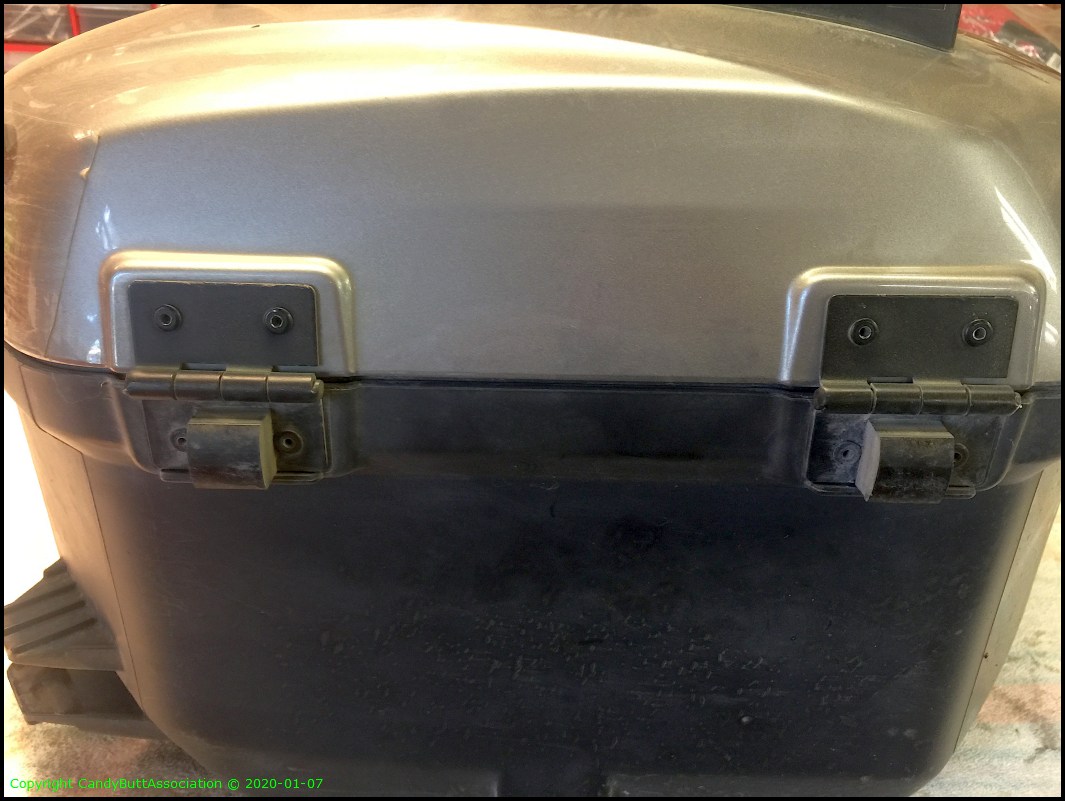
OEM rivets that hold lid to bag. The task is to drill these rivets out then reinstall the new lid.
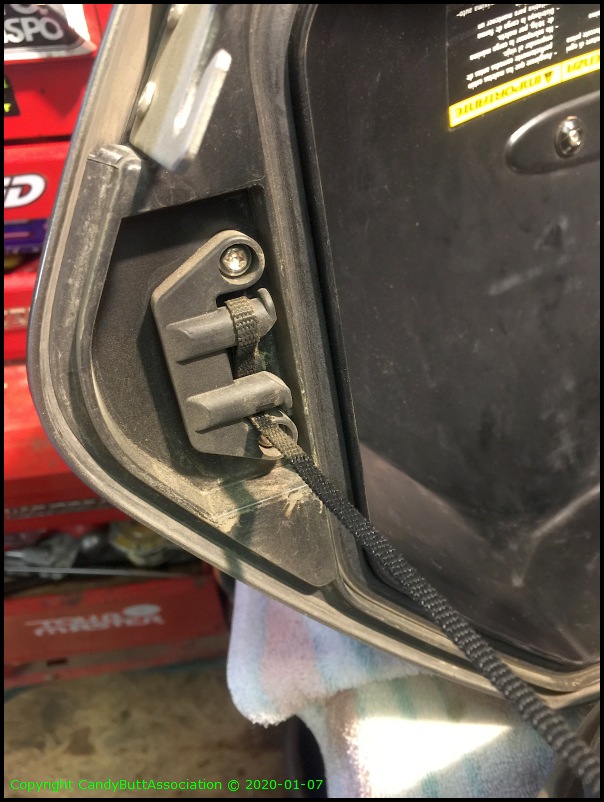
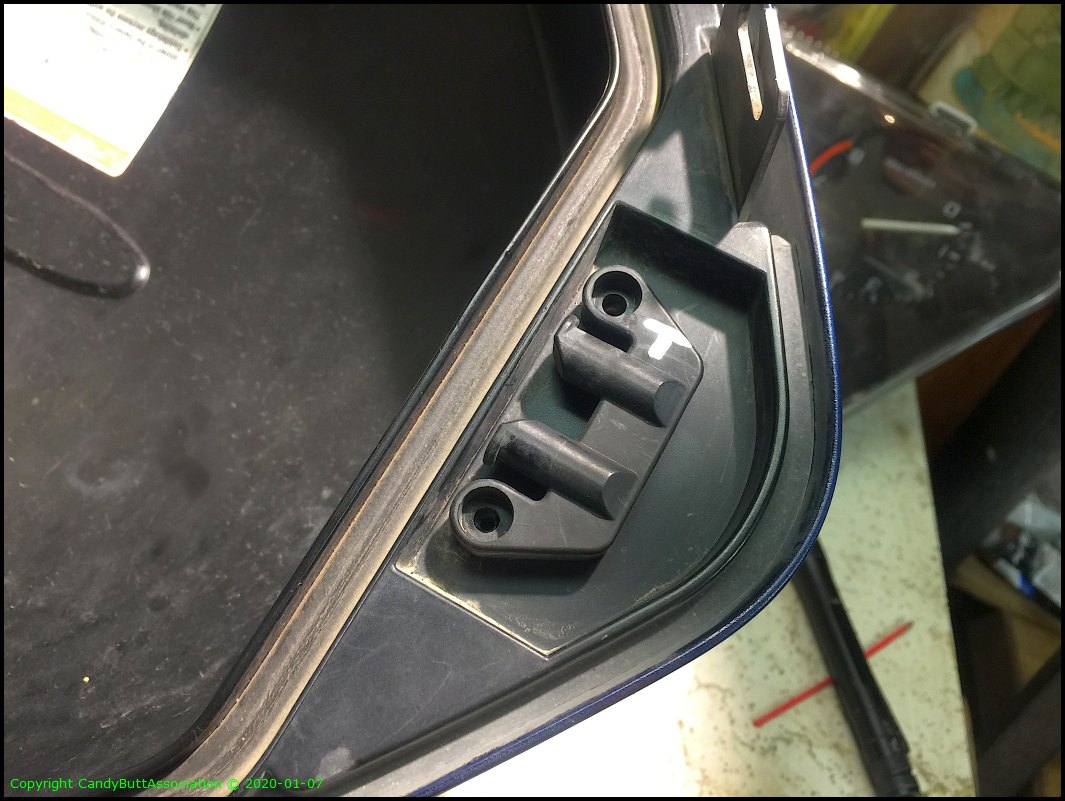
Lid restraining strap routing.
Rivet heads!
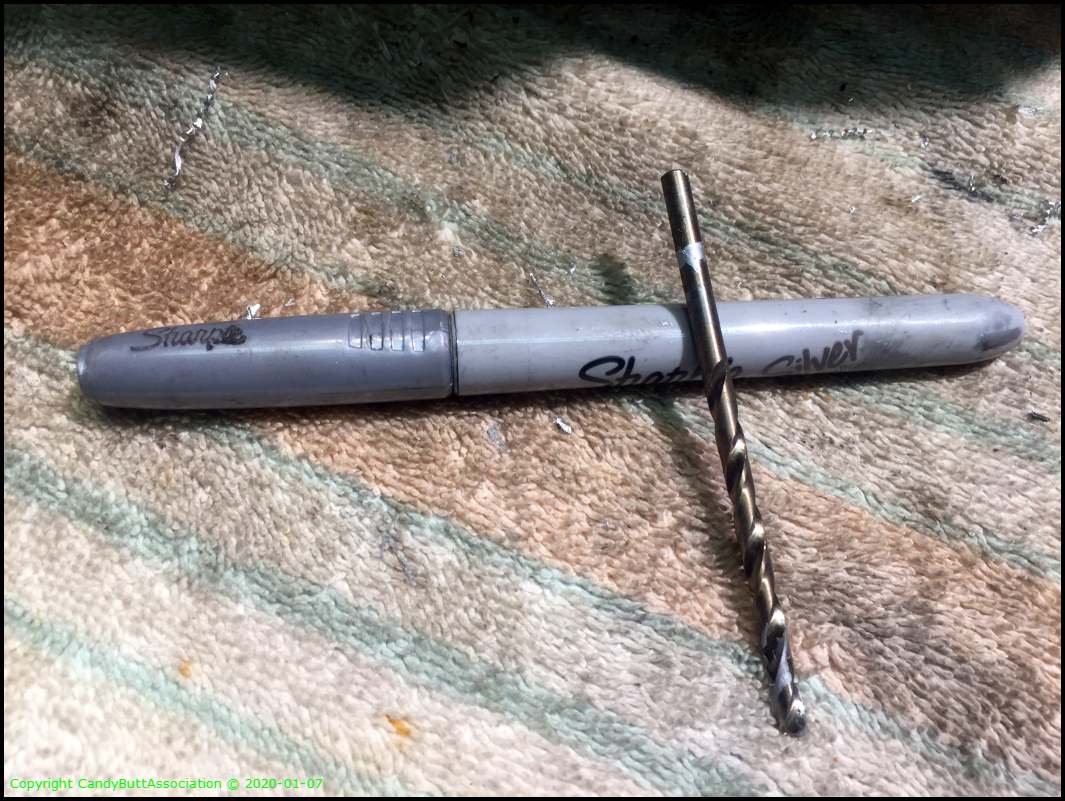
Wanted to make a clean cut, so bought a new 5/32" drill. NOTE - the silver bank on bit shank is approximate max depth the drill needs to penetrate. Any less and the rivet will not want to fully release from the backside, which will cause the double-sided adhesive taped held backing plate to come loose.
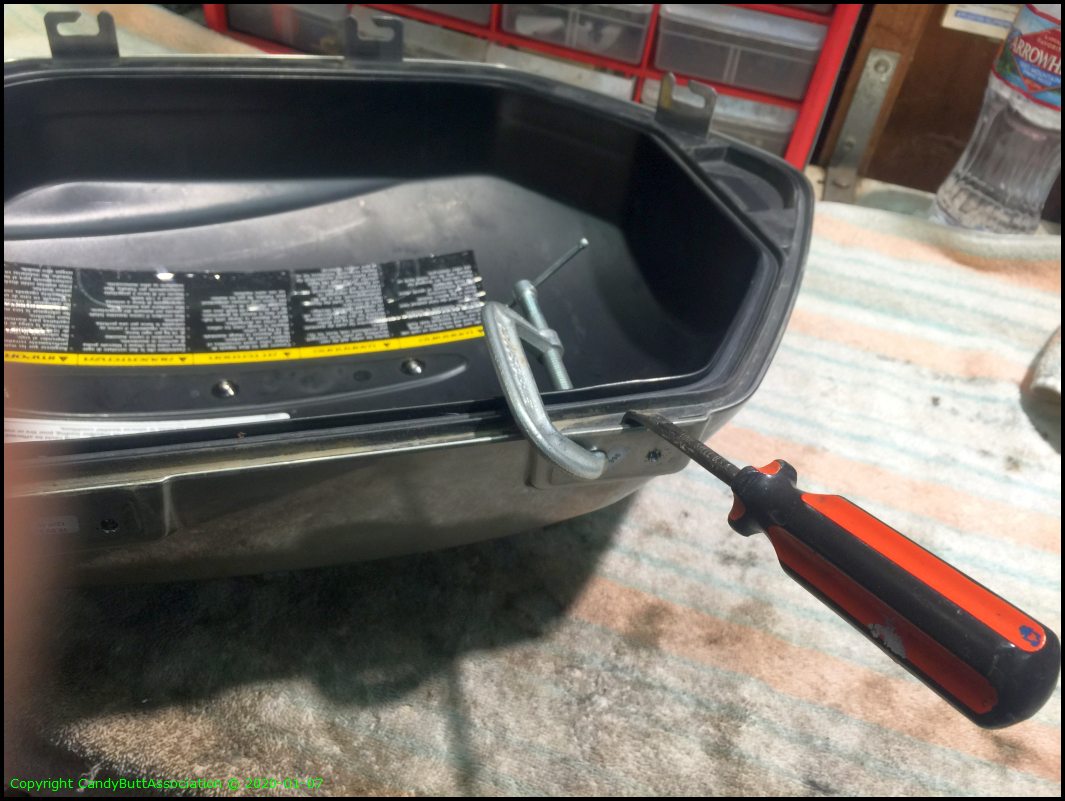
I learned that if one clamps the two surfaces *gently* together, the drill bit won't loosed the backing plate. Live an learn. The screwdriver has been Carverized.. the tip is bent 90 degrees to provide viewing space.
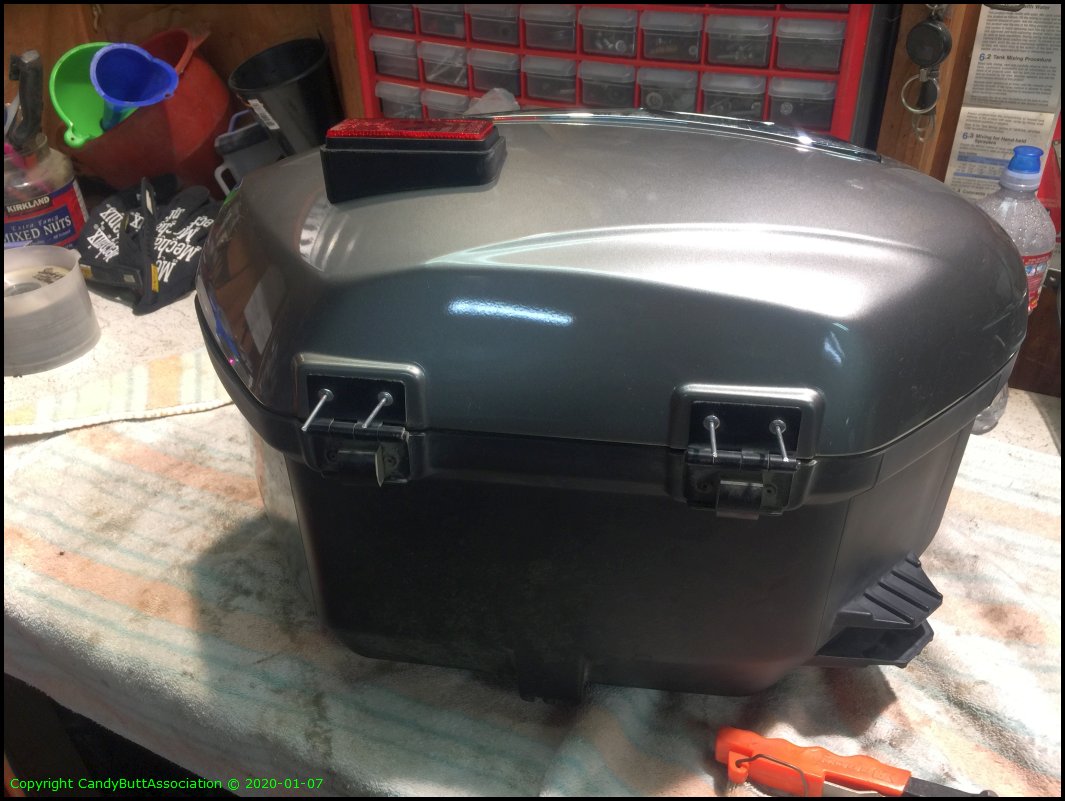
Got bags?
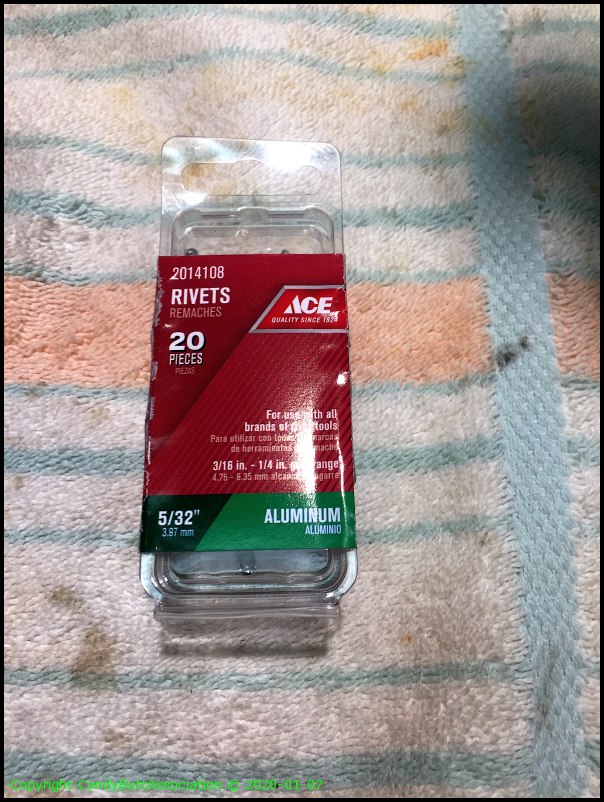
Rivet size needed. 5/32" diameter, 1/4" shank.
Learned it's smart to insert all 4 rivets before using tool. This makes for good lid alignment.
Once riveted, move the lock. Two JIS screws. Be sure orientation is noted before loosing and installing on new bag.
I had marked the restraining bracket. Like a DumbAss I lost the screws. So off the hardware store I go.
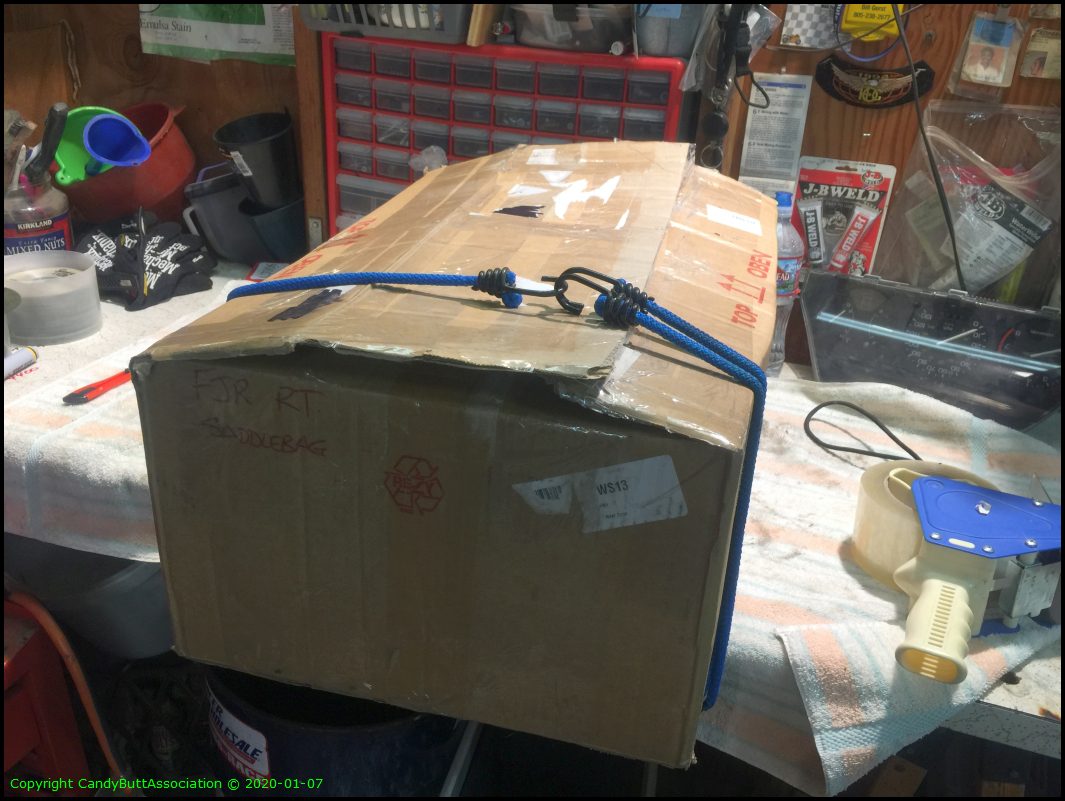
Getting the shipping box ready for RayZerMan!
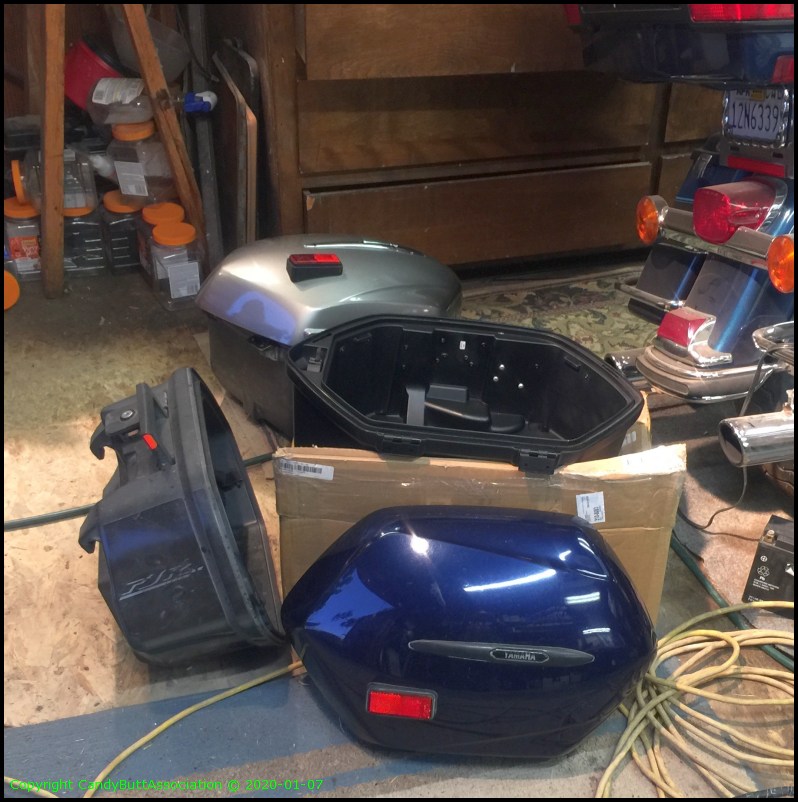
There it is. Two 2013 lids removed, new lids installed, old lids boxed and ready for shipment. New 2006 base bag acquired, and lid attached.
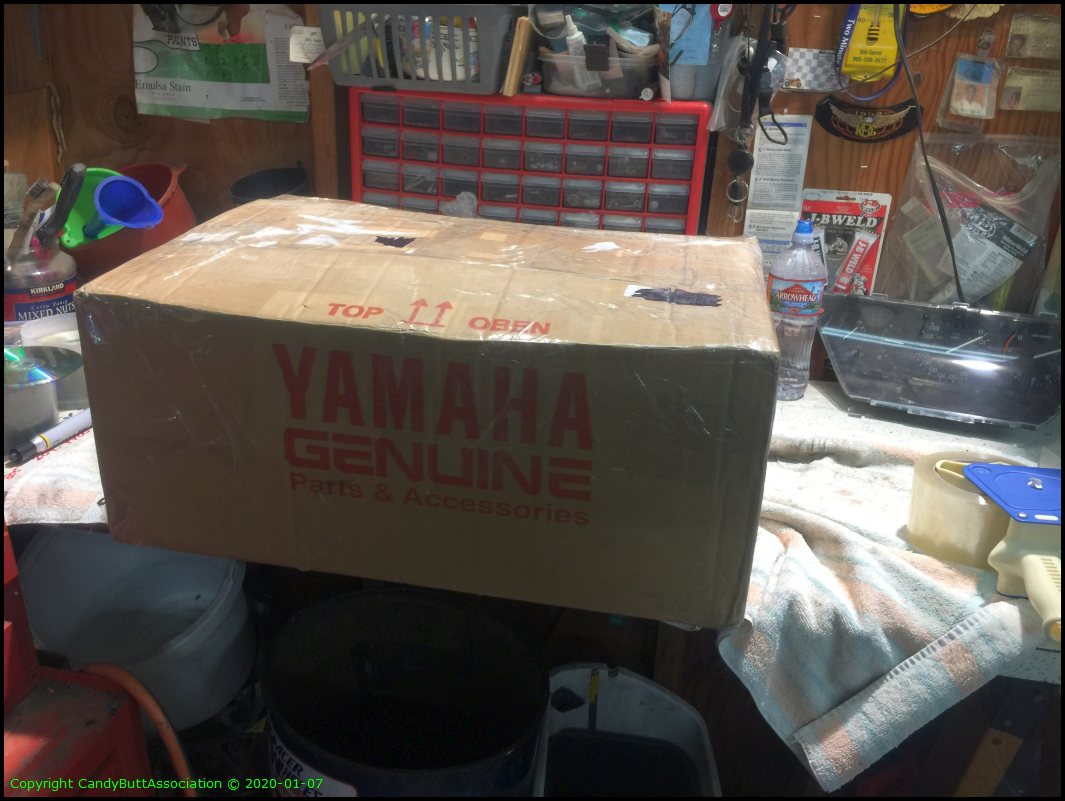
Off to UPS!
Many Many Thanks to AuburnFJR and RayZerman for being good peeps and helping me out..
